
A four-sided planer can be a helpful addition to a woodshop, allowing for quick and easy surface smoothing of rough boards. With a four-sided planer, boards can be passed through the machine in any orientation, meaning that all four surfaces can be planed in a single pass. In addition, four-sided planers can be used to create smooth, finished boards from lumber that has been rough cut or reclaimed from other projects.
Despite their many advantages, four-sided planers can be complex machines, and it is important for woodworkers to understand the basics before using one. In this article, we will explore the basics of four-sided planing, including how to choose the right machine for the job and how to use it safely and effectively.
Learn the basics of how a four-sided planer works.
A four-sided planer is a woodworking tool that is used to plane the four sides of a piece of lumber at the same time. The first side is planed with the machine turned off, and the other three sides are planed with the machine turned on. The four-sided planer is a very versatile tool that can be used to plane boards of all sizes and thicknesses.
The four-sided planer is a very efficient tool because it can plane all four sides of a board in a single pass. This is a very time-saving tool for woodworkers who need to plane a lot of lumber. The four-sided planer is also a very safe tool to use because it has a built-in guard that protects the operator from the rotating blades.
The four-sided planer is a very versatile tool that can be used to plane boards of all sizes and thicknesses. The machine can be adjusted to plane boards that are up to 12 inches wide and 6 inches thick. The four-sided planer is a very efficient tool that can save a lot of time for woodworkers who need to plane a lot of lumber.
Understand the different types of cuts a four-sided planer can make.
Most woodworking shops have a four-sided planer, and it’s one of the most versatile pieces of equipment in the shop. It can make a variety of cuts, from rough timber to smooth boards.
There are four basic types of cuts a four-sided planer can make: cross-grain, end-grain, string-inlay, and rabbet.
Cross-grain cuts are made across the grain of the wood. This is the most common type of cut, and is used to create things like boards and panels.
End-grain cuts are made along the grain of the wood. This type of cut is used to create things like moldings and trim.
String-inlay cuts are made by cutting a groove into the wood and then inlaying a strip of another material, such as metal or plastic. This type of cut is used to create decorative effects.
Rabbet cuts are made by cutting a groove into the wood. This type of cut is used to create joints, such as for shelves or cabinet doors.
Understanding the different types of cuts a four-sided planer can make will help you get the most out of this versatile piece of equipment.
Discover how to set up and use a four-sided planer.
A four-sided planer is an essential tool for anyone who wants to produce their own lumber. It can take rough lumber and transform it into smooth boards that are ready to use for a variety of projects. In this article, we will cover the basics of setting up and using a four-sided planer.
The first thing you need to do is set up the four-sided planer. This can be done by attaching the planer to a work table or other flat surface. Once the planer is attached, you will need to level it so that it is even with the surface you are working on. Next, you will need to calibrate the blades on the planer. This is done by adjusting the blade depth so that it is level with the highest point on the lumber you are working with.
Once the four-sided planer is set up and the blades are calibrated, you are ready to start using it. To use the planer, you will need to feed the lumber into the planer. The planer will then shave off the top layer of the lumber, creating a smooth board. You can continue feeding lumber into the planer until all of the boards you need are complete.
The four-sided planer is a great tool for anyone who wants to create their own lumber. With a little practice, you will be able to produce high-quality boards that are perfect for a variety of projects.
Learn how to select the right blades for your four-sided planer.
A four-sided planer can be a great addition to any workshop, but before you can start using one, you need to select the right blades. In this article, we’ll show you how to select the right blades for your four-sided planer.
There are a few things to consider when selecting blades for your four-sided planer. First, you need to know the thickness of the material you’ll be working with. The blades on a four-sided planer are adjustable, so you’ll need to adjust them to the thickness of your material. Second, you need to consider the type of material you’ll be working with. If you’re working with softwood, you’ll need to select a different blade than if you’re working with hardwood.
Finally, you need to consider the finish you’re looking for. If you’re looking for a smooth finish, you’ll need to select a different blade than if you’re looking for a rough finish.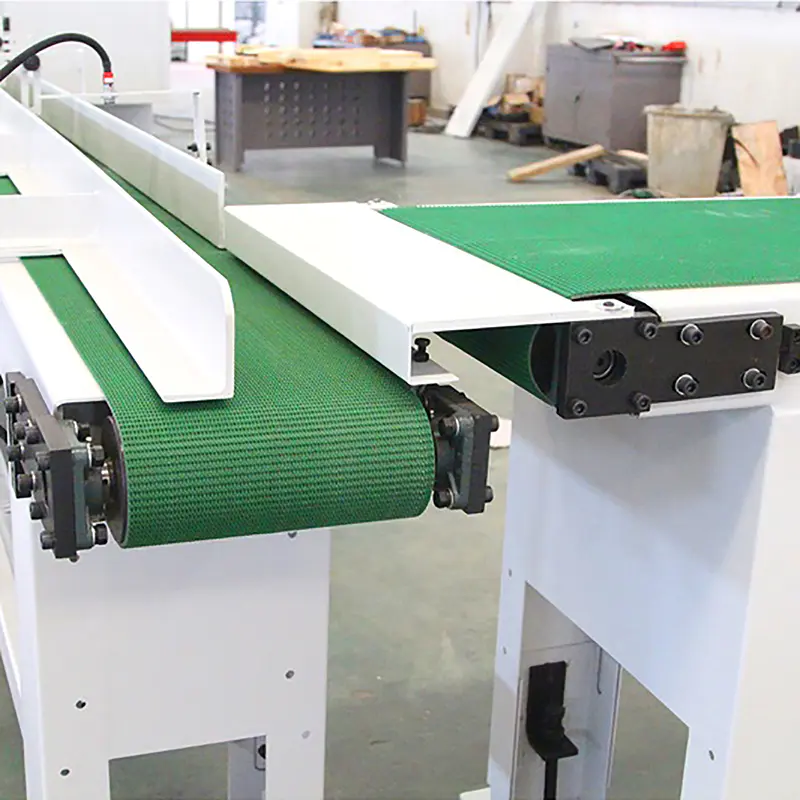
Once you’ve considered all of these factors, you’ll be able to select the right blades for your four-sided planer.
Get tips for getting the best results from your four-sided planer.
No matter what kind of woodworking project you are undertaking, one of the most important tools in your shop is the four-sided planer. Also known as a thickness planer, this tool can be used to quickly and easily create boards of uniform thickness, which is essential for projects that require precise measurements.
In order to get the best results from your four-sided planer, there are a few things to keep in mind. First, when setting up your workpiece, be sure to set the planer blades to just barely touch the surface of the wood. If the blades are set too deep, you will end up with an uneven surface. Second, it is important to feed the wood into the planer at a consistent speed. If you feed the wood too slowly, the blades will tear the wood, and if you feed it too quickly, the blades will not have enough time to do their job.
Another important tip is to make sure that the boards you are feeding into the planer are of uniform width. If the boards are not the same width, the planer will not be able to create boards of uniform thickness. Finally, be sure to keep the planer blades sharp. Dull blades will not cut as cleanly or as precisely as sharp blades, and will also cause the planer to work less efficiently.
By following these tips, you can be sure that you will get the best results from your four sided planer. With a little practice, you will be able to create boards of uniform thickness that are perfect for any woodworking project.
A four-sided planer is a powerful tool that can help you quickly transform rough lumber into smooth, finished boards. When using a four-sided planer, it is important to keep the following things in mind: the depth of cut, the feed rate, and the type of blades you are using. By following these simple tips, you can ensure that your four-sided planer produces the best results.

